When the opportunity presented itself to wrap up our two-year online D&D campaign in person at G&G XVI we all leapt at the chance.
After two years of playing the first big 5e module for D&D, Tyranny of Dragons, the adventurers were ready to join the final assault on the Well of Dragons and try to stop the summoning of the five-headed Queen of the Chromatic Dragons, Tiamat, or at least prevent her from getting too far into the Material Plane.
And although I have access to more than enough dragon models, none of them were the proper scale (or had the correct number of heads) to represent a creature of such mythical status.
Thankfully Jeff stepped in with a 3D printable design he found from Lord of the Print and dropped off a box of resin parts he had printed just prior to my birthday. I am by no means a master painter and was both intimidated and excited to paint such an immense and detailed model. After washing the parts to make sure primer would stick without issue, I laid them out and began pinning some of the larger pieces together.
Some tiny holes made with a minuscule drill called a pin vise, a bit of brass wire and a few calluses later, the wings, tail structure and a few other delicate bits were sturdy enough to survive a moderate amount of transport. The primary wings were especially challenging, since Jeff's printer at that time was too small to print them in one piece. Still, a couple of pins and a bit of green stuff to conceal the gap and seam seems to have stood up thus far.
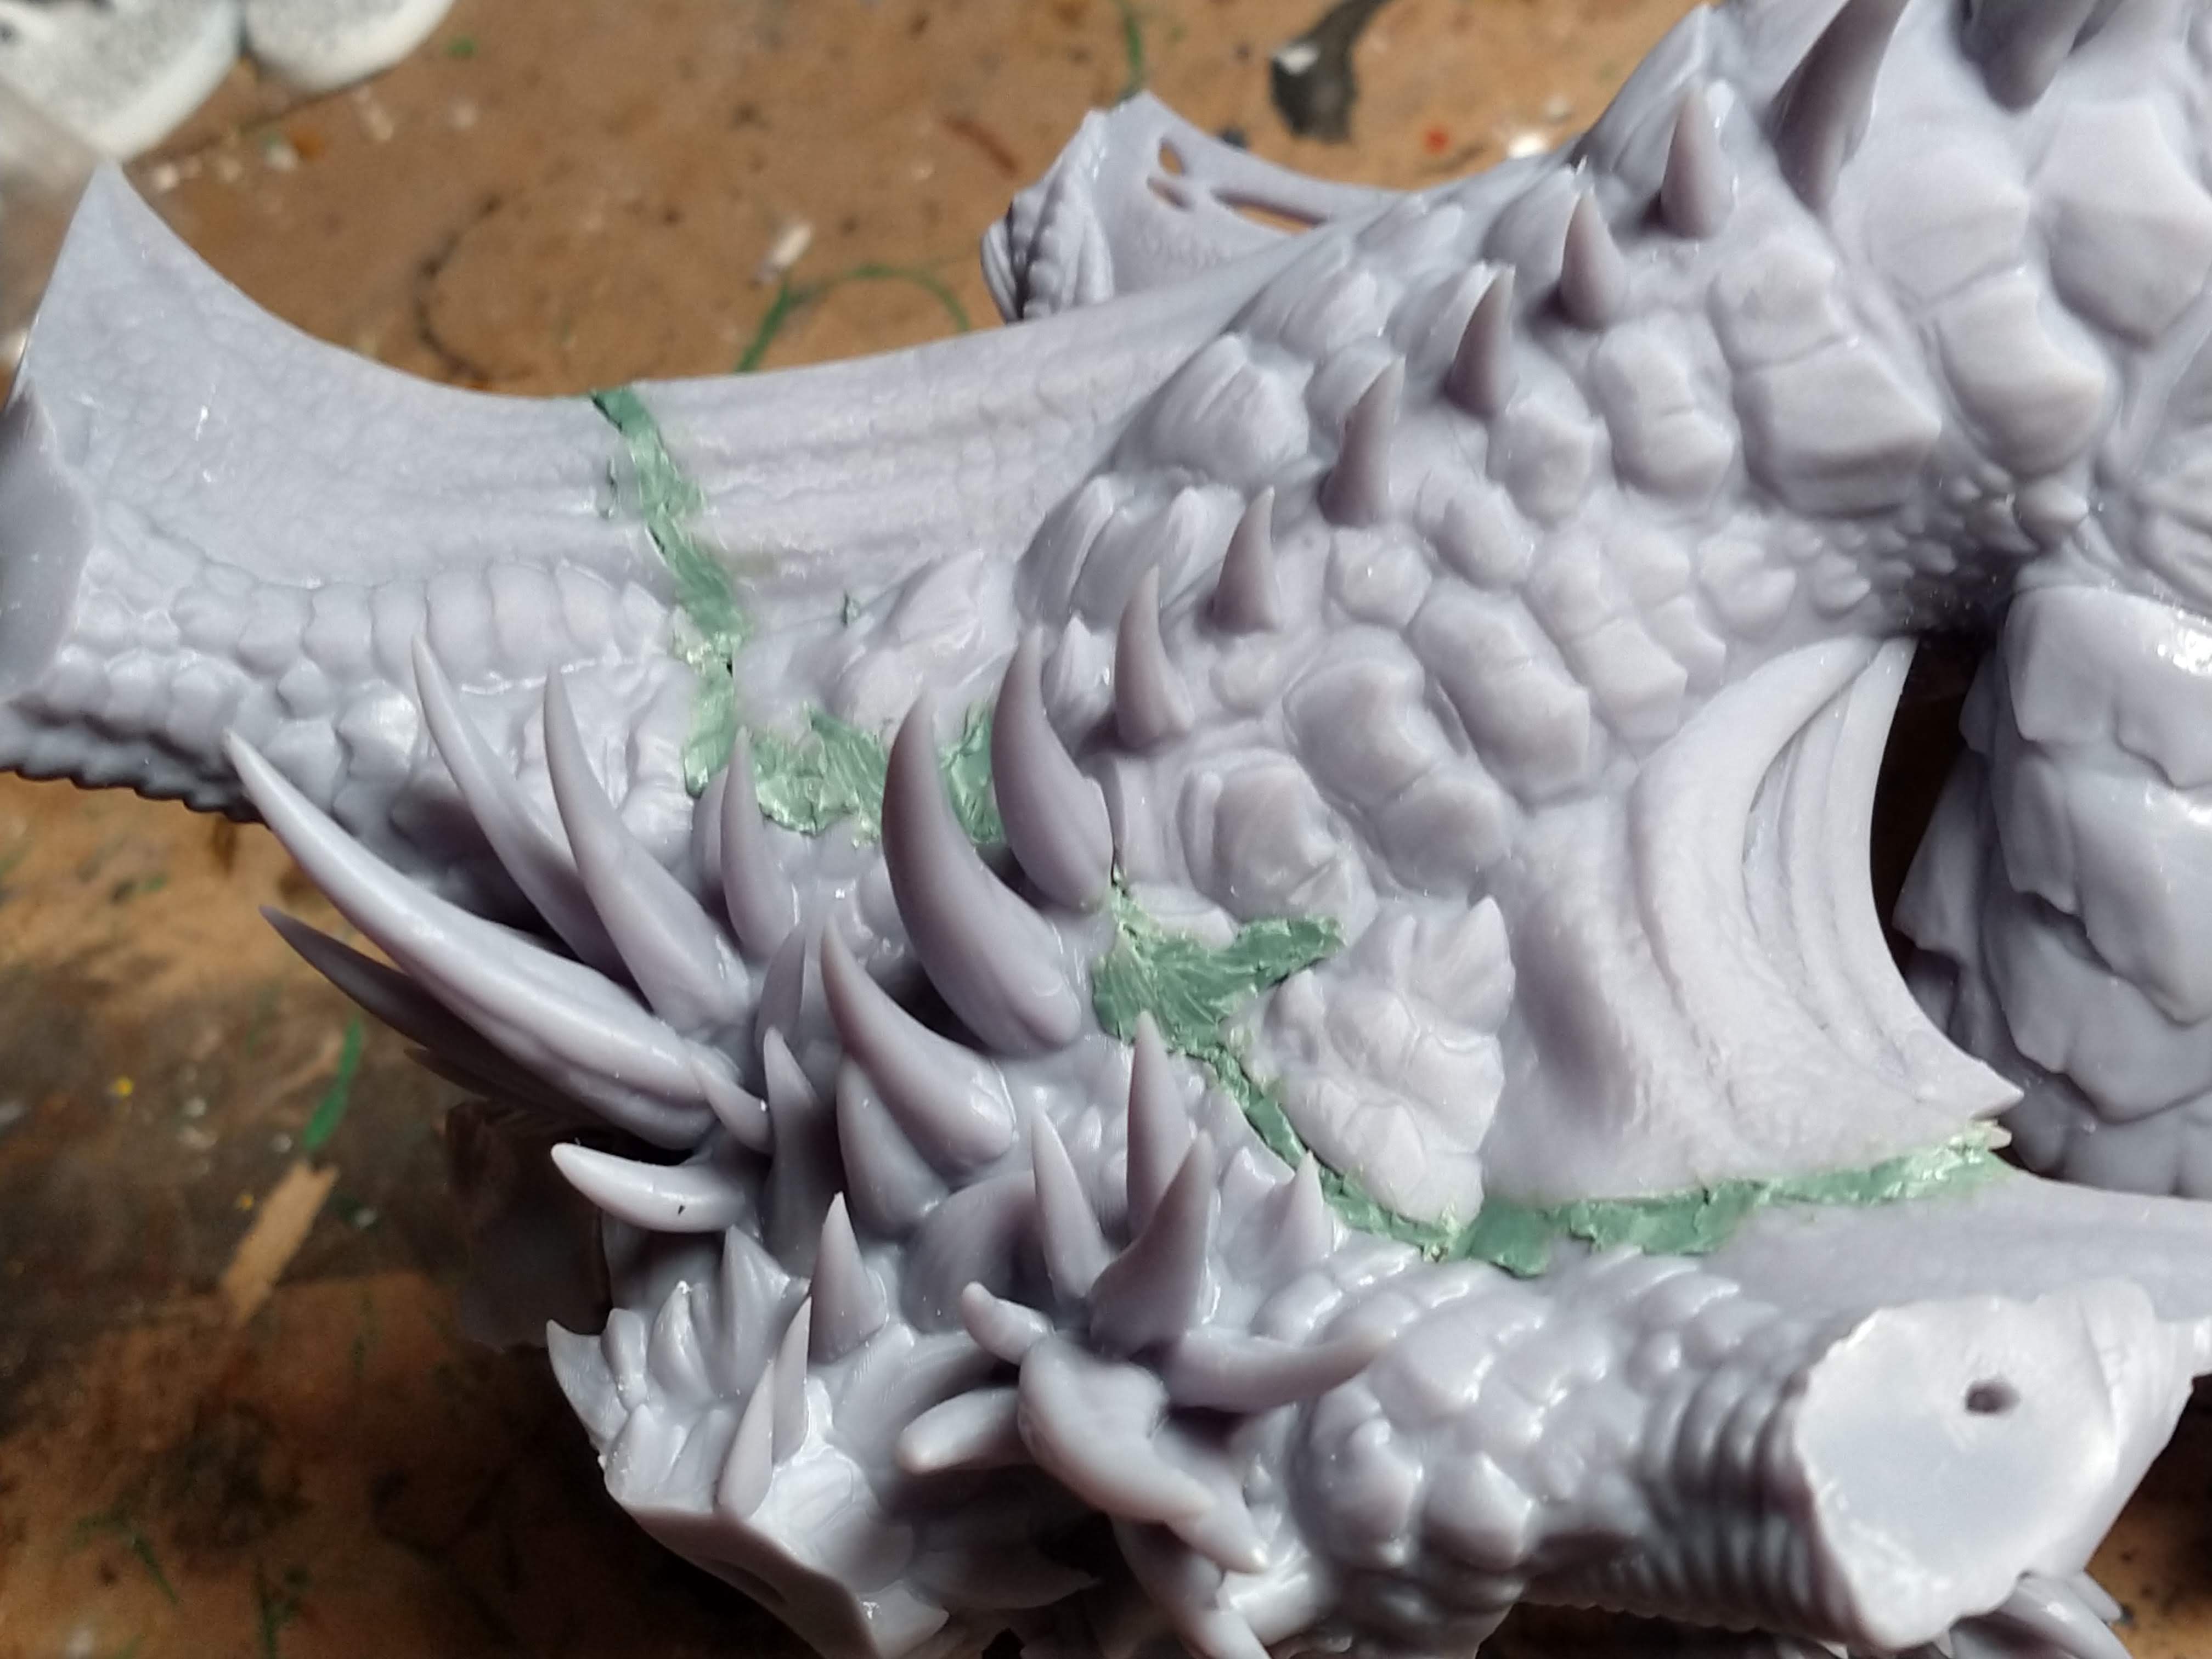
The next step was using green stuff (epoxy putty to fill in the gaps between some of the larger pieces of the main body. I've never been deft with this stuff and it can be unforgiving to work with, keeping some water on hand and a damp modelling tool made it easier to keep the putty relatively smooth.
After letting the putty cure for a day, it was time for undercoating with some white spray primer...quite a bit, actually, except for the rocky base which I primed black. Given the size of the model, I decided to paint the body, tails, wings, base and each head separately and then aseemble it all before touching up any issues with gaps. The idea of dropping the model while turning it or hooking a wing on something and dashing it to the floor gave me anxiety, and I wanted to take my time with the heads and their characterful faces.
I glued each head to a popsicle stick and slid each stick into a slit in a small cardboard box so I could prime them all without having them roll around or get stuck to anything. Plus it would make painting each head much easier.
I started by laying some base colours down on the body, using my new Army Painter SpeedPaints to get a bit more depth on the red and orange with a single coat.
The wings got a similar three-colour treatment, and I was very happy with how the SpeedPaints brought out a bit of the texture without any additional highlighting.
Then I worked a bit on the multicoloured tail and went back to the body and picked out a few scattered scales to paint a matching colour which you can see above, so the transition from red to blue or green wouldn't appear too abrupt. These pictures were taken a little later on after I added some highlighting.
Then I could finally get to work on the heads. Despite being an unlicensed model, each head conforms to the look D&D has established for their evil chromatic dragons: black, green, white, blue and of course, red. Each face was characterful, expressive and a joy to paint, so I am glad I mounted them on the sticks.
Well, mostly glad - when I went to remove the sticks, sometimes the glue was stronger than the wood, and I would have to file, sand or scrape some super glue and wood off the neck. Ah, well - the net result was still good!
With the heads done, it was time to go back and apply some highlights to the main body...
...and the wings.
The base was mostly drybrushing but I took the time to pick out the little details they included like skeletons and old weapons, as I knew I would want to glue Tiamat on there pretty quickly once her body was complete.
At last, after more than a week of fairly consistent modelling and painting, I was ready to begin final assembly! First, gluing her feet to the base and then aligning the heads with the necks (and pinning them as well)...
...then adding the tail assembly, as well as a bit of putty work for the gaps.
Finally, the wings, which were perhaps the hardest parts to align, particularly after reinforcing the joins with wire pins.
Some minor puttying and a few touch-ups, and Tiamat was complete at last! My satisfaction at seeing her completely finished and varnished was nothing compared to the surprise, horror and delight when I
brought her to the tabletop at G&G a few days later.
By far the largest and most challenging model I have ever worked on, I am very pleased with how she turned out and with the reaction to her presentation. I have a hard time imagining using her again, but I won't lie, I am still working on it.
In the meantime, Tiamat has a place of honour on top of my figure case, and at least one visitor to the Batcave has recognized her, which is also highly gratifying.


.jpg)


Holy crap! That looks AMAZING! I'm jealous man, that inspires me to want to do my own Tiamat.
ReplyDelete
DeleteCheers man - it was a fair bit of work but lots of fun as well!
I want to see a picture of your player’s reaction when you pop that on the table!
ReplyDeleteThere is some grainy video in the blog post linked above, and again here: http://growoldnotup.blogspot.com/2022/06/g-xvi-dragons-mechs-dungeons-wrecks.html - It was pretty satisfying!
Delete